Here is a full, comprehensive guide to the Focusrite Scarlett 2i2, covering everything from unboxing to advanced production techniques.
The Ultimate Focusrite Scarlett 2i2 Guide
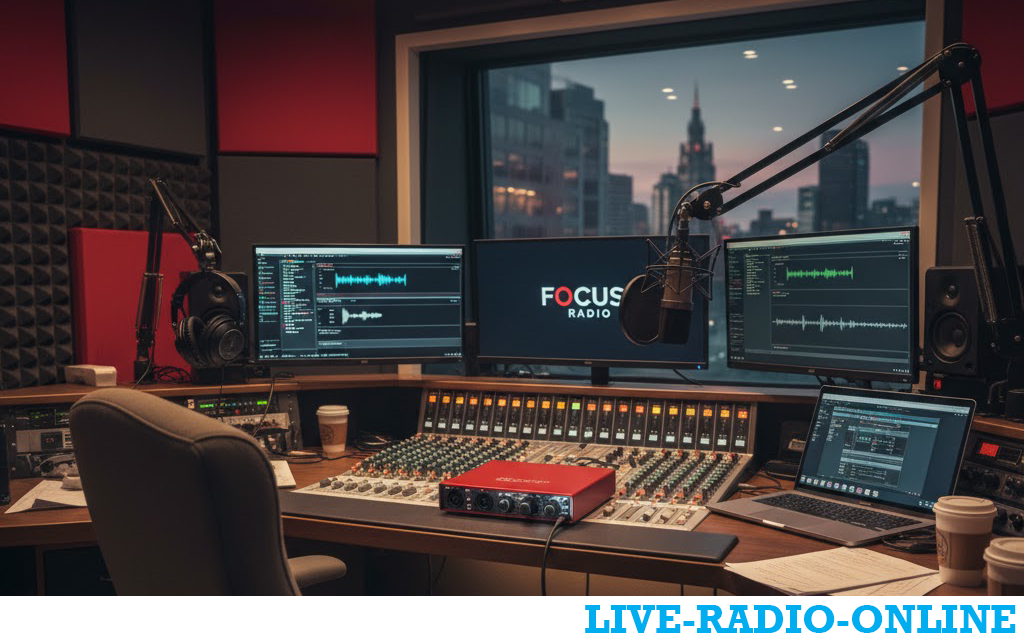
The Focusrite Scarlett 2i2 is one of the most popular audio interfaces in the world, beloved by musicians, podcasters, and streamers for its excellent sound quality, robust build, and simplicity. This guide will take you from "out of the box" to recording and streaming like a pro.
Part 1: What's in the Box & First Look
When you open the box, you should find:
-
Scarlett 2i2 (3rd Gen or 4th Gen) Audio Interface
-
USB-C Cable (for connection to your computer)
-
Quick-Start Guide
Front Panel Tour (The Important Bits)
-
Inputs 1 & 2 (XLR/TRS Combo Jacks): These are your two microphone/instrument inputs.
-
XLR: For microphones.
-
1/4" (TRS): For instruments (like guitar or bass) or line-level signals (like a keyboard).
-
-
Gain Knobs (1 & 2): Controls the input level for each channel. This is the most critical control!
-
"AIR" Mode Button: A Focusrite exclusive. When lit, it adds a high-frequency lift that emulates their classic ISA preamps, making vocals and acoustic instruments sound brighter and more "open."
-
48V Phantom Power Button: This button sends power to the inputs. ONLY turn this on if you are using a condenser microphone. Never turn it on with a dynamic microphone or an instrument plugged in.
-
Direct Monitor Switch: Allows you to hear your input signals with zero latency (no delay).
-
Off: You hear only the playback from your computer.
-
On: You hear a blend of your input and the computer playback.
-
Stereo: You hear your input in stereo (Input 1 left, Input 2 right).
-
-
Monitor Knob: Controls the volume of your speakers/headphones connected to the interface.
-
Headphone Knob: Controls the volume of your headphones.
-
USB-C Port: For connection to your computer.
-
Clip Indicators (around the Gain Knobs): These rings light up red when your input signal is too loud and distorting ("clipping"). Your goal is to get a strong signal without the red light.
Back Panel Tour
-
L & R Outputs (TRS): Connect your studio monitors (speakers) here.
-
USB-C Port: (Also on the front of 4th Gen) The main connection to your computer.
Part 2: Setting Up & Installing Drivers
-
Connect: Plug the USB-C cable into your Scarlett 2i2 and your computer.
-
Install Drivers (Recommended for Windows):
-
Go to the Focusrite website and download the Focusrite Control software for your specific 2i2 model (3rd or 4th Gen).
-
Run the installer and follow the prompts. This ensures the best performance and lowest latency.
-
Note for Mac Users: macOS often works with the 2i2 without additional drivers, but it's still recommended to install Focusrite Control for access to settings and software bundles.
-
-
Configure Your Computer:
-
Windows: Go to Sound Settings and set the "Focusrite USB Audio" as your default input and output device.
-
Mac: Go to System Settings > Sound and set the "Focusrite" as your input and output.
-
Part 3: How to Set Levels and Avoid Clipping
This is the most crucial skill for getting great sound.
For a Microphone:
-
Plug your mic into Input 1 (XLR).
-
Turn the Gain knob all the way down (counter-clockwise).
-
Start speaking or singing at the volume you'll use for recording.
-
Slowly turn the Gain knob up while watching the halo light around it.
-
Ideal: A solid green light, flickering into yellow on the loudest parts.
-
Bad: A solid or frequent red light. This means clipping. Turn the gain down until the red stops.
-
For an Electric Guitar/Bass:
-
Plug your instrument into the input (1/4" jack).
-
Press the INST button (it will light up). This switches the input to the correct level for instruments.
-
Follow the same gain-setting process as above: play your hardest, and adjust the gain so the light is green/yellow, never red.
Part 4: How to Use the Scarlett 2i2 For...
1. Recording Vocals or an Acoustic Instrument
-
Setup: Condenser Mic -> XLR Cable -> Scarlett Input 1. Turn on 48V Phantom Power. Enable AIR mode for extra clarity.
-
In Your DAW (e.g., GarageBand, Ableton, Reaper): Create an audio track and set its input to "Input 1" on the Focusrite. Arm the track for recording.
2. Recording Electric Guitar or Bass (Direct Input)
-
Setup: Guitar -> 1/4" Cable -> Scarlett Input 1. Press the INST button.
-
In Your DAW: Create an audio track. You can record the "dry" signal and use amp simulator plugins (like the ones in your Focusrite software bundle) to get your tone later.
3. Podcasting with Two People
-
Setup: Two microphones -> Two XLR Cables -> Scarlett Input 1 & 2.
-
In Your DAW: Create two separate audio tracks. Set one to Input 1 and the other to Input 2. Record them simultaneously.
4. Live Streaming (OBS, Streamlabs)
-
Setup: Your mic and/or instrument into the 2i2 as described above.
-
In OBS:
-
Go to Settings > Audio.
-
Set "Mic/Auxiliary Audio" to "Focusrite USB Audio."
-
You can also add the 2i2 as a separate Audio Input Source in a scene for more control.
-
Use the Direct Monitor to hear your game/chat audio from the computer while monitoring your own voice with zero delay.
-
Part 5: Your Free Software & Plugins Bundle
One of the best value-adds is the free software that comes with your 2i2 (you must register it on the Focusrite website to get it). The bundle changes, but typically includes:
-
Ableton Live Lite: A fantastic, beginner-friendly Digital Audio Workstation (DAW) to start recording.
-
Pro Tools Artist: The industry-standard DAW.
-
Focusrite's Red Plug-in Suite: Includes compressor and EQ plugins.
-
A vast collection of sounds and instruments from companies like Spitfire Audio, XLN Audio, and Plugin Boutique.
Spend time downloading these! They provide thousands of dollars worth of value and are everything you need to start making music.
Part 6: Troubleshooting Common Issues
-
"No Sound" or "Device Not Recognized":
-
Try a different USB-C cable and a different USB port on your computer.
-
Restart your computer.
-
Reinstall the Focusrite Control drivers.
-
-
Static, Crackling, or Dropouts:
-
This is usually a buffer size issue. Open Focusrite Control or your DAW's audio settings and increase the buffer size (e.g., from 64 samples to 128 or 256). Lower buffer sizes are for recording, higher ones are for mixing with many plugins.
-
-
Feedback Loop:
-
You're likely hearing your microphone through your speakers and back into the mic. Use headphones, or in your DAW, make sure you are not monitoring the input track through the software while also having Direct Monitor on.
-
-
Microphone Sounds Quiet/Noisy:
-
You probably didn't add enough gain. Re-adjust your gain levels to get a strong signal (consistent green/yellow light). A weak signal requires more amplification, which also amplifies noise.
-
Part 7: Pro Tips & Best Practices
-
Gain Stage Properly: Get the strongest, cleanest signal at the source (the 2i2). Don't rely on "fixing it in the mix" by just turning up a quiet track.
-
Use AIR Mode Wisely: It sounds great on vocals, acoustic guitars, and overhead mics, but it might not be necessary for everything (like a gritty bass guitar).
-
Embrace Direct Monitoring: For recording, use the Direct Monitor switch to hear yourself without any delay. This is crucial for playing in time.
-
Keep Your Drivers Updated: Check the Focusrite website periodically for driver updates for better stability and performance.
The Scarlett 2i2 is a powerful tool that can be the heart of your creative studio for years. By understanding its features, you can unlock its full potential and focus on what matters most: creating great audio.